Categories
프로그래밍

Props & Emits

Props

자식 컴포넌트에서 부모로부터 데이터를 받는 것이다.

<!-- ChildComp.vue -->
<script setup>
const props = defineProps({
  msg: String
})
</script>

자식 컴포넌트에 props 를 선언하고

<script setup>
import { ref } from 'vue'
import ChildComp from './ChildComp.vue'

const greeting = ref('부모 컴포넌트로부터 💌을 전달받았어요!')
</script>

<template>
  <ChildComp :msg="greeting" />
</template>

이렇게 부모 컴포넌트에서 자식 컴포넌트로 greeting 을 msg로 전달한다.

Emits

자식 컴포넌트는 부모로부터 props를 받는 것 뿐만 아니라 이벤트를 발송 할 수 있다.

<script setup>
// emit할 이벤트 선언
const emit = defineEmits(['response'])

// 인자와 함께 emit
emit('response', '자식 컴포넌트로부터 🌷를 받았어요!')
</script>

이렇게 자식이 발송한 response 라는 이름의 이벤트에 메시지를 실어서 보내면

<script setup>
import { ref } from 'vue'
import ChildComp from './ChildComp.vue'

const childMsg = ref('자식 컴포넌트로부터 아직 메시지를 받지 못했어요!')
</script>

<template>
  <ChildComp @response="(msg) => childMsg = msg" />
  <p>{{ childMsg }}</p>
</template>

부모에서는 이렇게 수신할 수 있다.

Slots

props 로 데이터를 전달하는 것 외에도 구성 요소는 slots 를 통해 템플릿 조각을 자식 구성 요소에 전달할 수도 있다.
Categories
프로그래밍

Vue 3, Options API vs Composition API

Options API 는 기존 Vue.js의 전통적인 방식으로

<script>
export default {
  data() {
    return {
      count: 0
    }
  },
  methods: {
    increment() {
      this.count++
    }
  }
}
</script>

<template>
  <button @click="increment">숫자 세기: {{ count }}</button>
</template>

이런 식으로 data, methods, computed, watch 등의 정해진 구조 안에 작성하는 방식이다.

하지만 Vue 3 부터는 Composition API 라고 해서

<script setup>
import { ref } from 'vue'

const count = ref(0)
</script>

<template>
  <!-- 이 버튼이 작동하도록 만들어 봅시다 -->
  <button>숫자 세기: {{ count }}</button>
</template>

이런 식으로 함수를 import 하고 JavaScript 와 비슷하게 작성된다.

Composition API 의 장점은 정해진 틀 안에 작성하는게 아니라 유연하고 상태와 로직이 분리되지 않고 한 덩어리로 있어서 보기 편하다.

Vue 3 에서도 Options API 를 계속해서 지원하지만 본인은 Composition API 를 주로 사용 할 예정이다.

Categories
프로그래밍

Docker & GitLab 설치

로컬 컴퓨터에서 GitLab을 사용하고 싶은데 설치를 하려면 docker 가 필요했다.

윈도우 WSL Ubuntu 환경에서

sudo apt update
sudo apt install apt-transport-https ca-certificates curl software-properties-common
curl -fsSL https://download.docker.com/linux/ubuntu/gpg | sudo gpg --dearmor -o /usr/share/keyrings/docker-archive-keyring.gpg
echo "deb [arch=amd64 signed-by=/usr/share/keyrings/docker-archive-keyring.gpg] https://download.docker.com/linux/ubuntu $(lsb_release -cs) stable" | sudo tee /etc/apt/sources.list.d/docker.list > /dev/null
sudo apt update
sudo apt install docker-ce
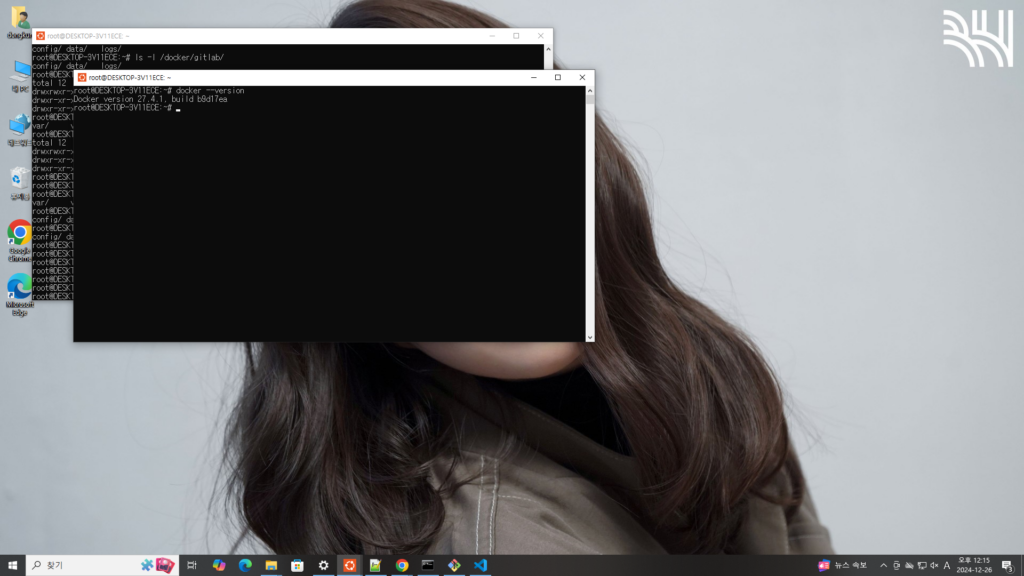
sudo docker --version

이렇게 하면 docker 가 설치된다.

이후에

docker pull gitlab/gitlab-ce:latest

gitlab 최신 버전을 받아주고

docker run --detach \
  --hostname your-gitlab-domain.com \
  --publish 443:443 --publish 80:80 --publish 22:22 \
  --name gitlab \
  --restart always \
  --volume /docker/gitlab/config:/etc/gitlab \
  --volume /docker/gitlab/logs:/var/log/gitlab \
  --volume /docker/gitlab/data:/var/opt/gitlab \
  gitlab/gitlab-ce:latest

이렇게 입력을 하면 실행이 된다.

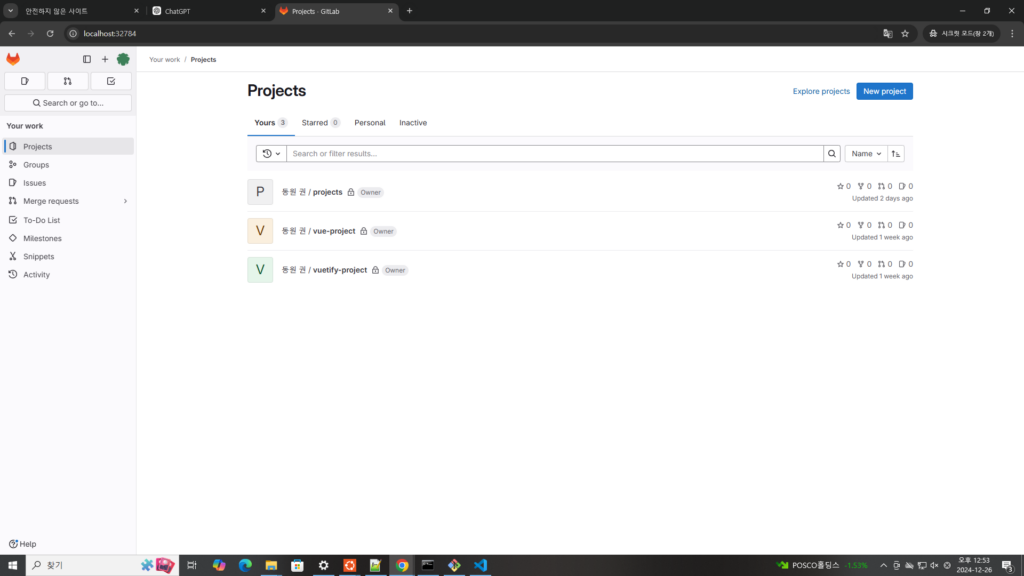
잘 실행이 되어서 작업하던 개인 프로젝트를 모두 올려놨다.

Categories
프로그래밍

비밀번호 암호화 및 dotenv 사용

기존 소스에서는 회원가입을 할 때

프론트엔드에서 salt 생성 및 해시화를 한 이후 백엔드로 넘겨주었는데

이렇게 하면 프론트엔드에서 탈취를 할 가능성이 있다고 한다.

그래서

1
2
3
4
5
6
7
8
9
10
11
12
13
14
15
16
17
app.post(‘/register’, (req, res) => {
    const { email, username, password } = req.body;
 
    const salt = crypto.randomBytes(16).toString(‘hex’);
    const hash = crypto.createHash(‘sha256’).update(password + salt).digest(‘hex’);
 
    const query = ‘INSERT INTO users (email, username, password, salt) VALUES (?, ?, ?, ?)’;
 
    db.query(query, [email, username, hash, salt], (err, results) => {
        console.log(results);
        if (err) {
            return res.status(500).json({ message: ‘회원가입 실패’ });
        }
        return res.status(201).json({ message: ‘회원가입 성공’ });
    });
});
 
cs

백엔드에서 처리를 하게 바꾸었고

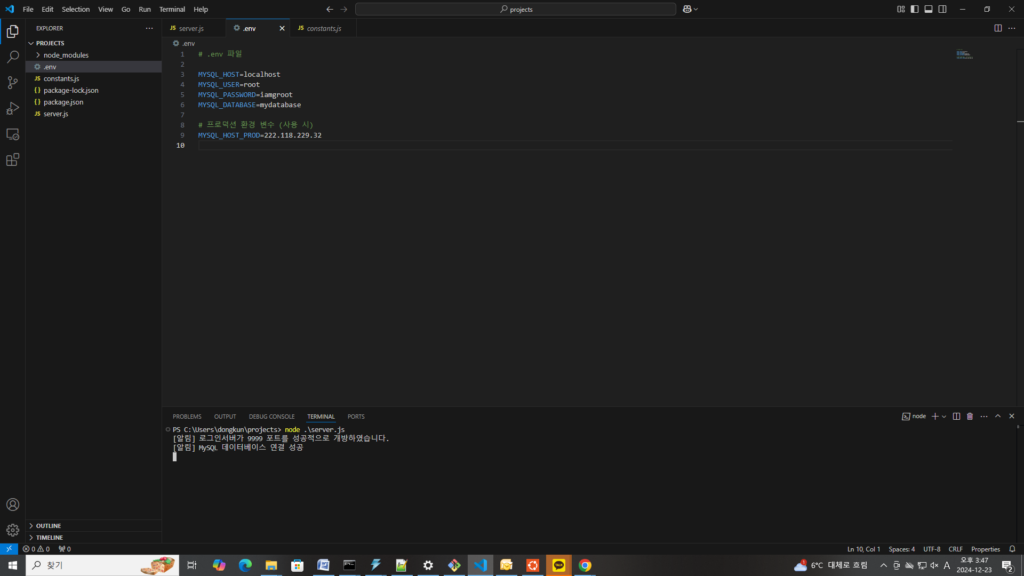
하드코딩 되어있던 MySQL 등 환경 변수들을 dotenv 를 이용하여

.env 파일로 관리하게 바꾸었다.